
Masks for beginners in Adobe After Effects
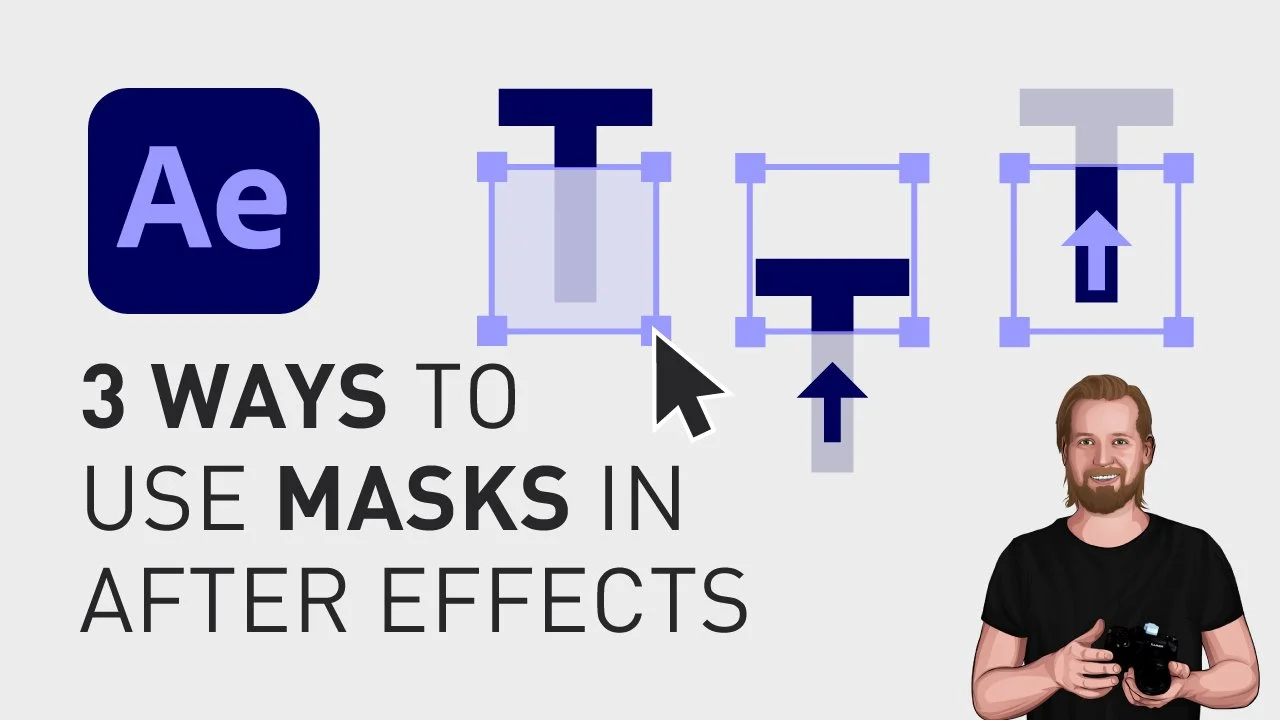
Animating text in Adobe After Effects can be complicated, so here are three simple ways of revealing text that anyone can create, using a shape layer and a mask.
Masks for beginners in Adobe After Effects
Let’s start with the shape layer.
1️⃣ Creating a mask using a Shape Layer (Text sliding in)
First, make sure you have no layer selected in the timeline window, by clicking on any empty space inside that window, then go up to the “Shape tool”. Click and hold on the “Shape tool” to see the different shape options, and then select rectangle.
Now, draw a rectangle in the “Composition” window, over the text, and end the rectangle just a tiny bit underneath the baseline of the text.
Then, move the playhead to the point where you want the text animation to stop and then open the text layer, go to “Transform” and click on the stopwatch icon ⏱️ next to “Position”.
Now, move the playhead to where you want the animation to start, go back to “Position” and drag the Y-value to the right until you can see the whole text. Now the text moves into the shape.
The final step now is to go to the “Track Matte”-dropdown, next to the “Shape Layer” and change from “No Matte” to your “Shape Layer” and it vill now slide the text up and become visible when inside the area of the shape layer.
2️⃣ Creating a mask using a Shape Layer (Shape sliding out and revealing the text)
To move the shape instead of the text, just do the same thing with the “Position”-value in the “Shape Layer”. Click the stopwatch icon ⏱️ where you want it to end, move the playhead to where you want it to start, and drag the Y-value to the right until the whole text is hidden.
3️⃣ Creating a mask inside the text layer
You can also achieve this revealing effect by only using one layer.
You do this by selecting the “Text Layer”, creating a rectangle to cover the text (and because you selected the layer first it will now create a mask inside that layer).
Then, you open the mask, click the stopwatch icon ⏱️ next to “Mask Path”, move the playhead back, go back to the composition window, change to the “Select” tool by clicking V on your keyboard, and then drag any of the corners down while holding the “Shift”-key.
Now, you have created the same effect using a mask instead of a “Shape layer”.
🎞 Watch the tutorial here!
For 9 more animations like this, check this video.
Don’t forget to subscribe to my YouTube channel for hundreds of short tutorials just like this one.
Thanks for reading!
Click the image below to check out my digital products 👇
