
How to make a carousel with images
If you want to create a rotating gallery like this, in Adobe After Effects, this is how easy you can achieve that.
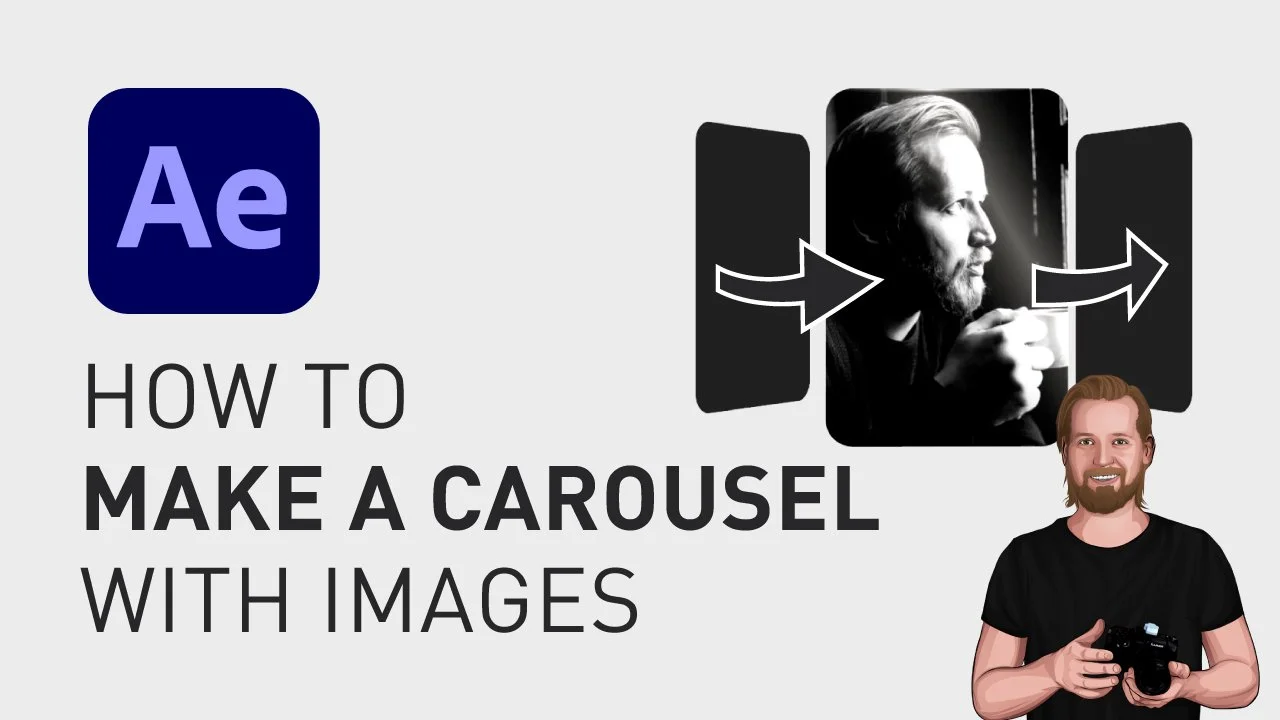
How to make a carousel with images
First, create whatever shape you want, for example a rectangle with rounded corner, and place that in the center of the composition window.
Center the anchor point in the shape:
Mac: ”Fn + opt + cmd + left arrow”
Center the shape in the composition with:
Mac: ”Fn + cmd + left”
(…or do this manually in the menu under Layer > Transform)
Once you are happy with the shape, we want to duplicate this layer by selecting it and clicking “cmd + D” (or “Ctrl + D” on PC) as many times as you like.
Now, you want to “Pre-compose” these “Shape Layers” individually by right-clicking on them, one by one, and clicking “Pre-compose”.
Now, you can add an image in any of these layers by double-clicking on it to open it, dragging an image from the “Project” window into the “Timeline” window, clicking the keyboard shortcut “S” to adjust the scale of the image, and then click on the dropdown next to your image, under “Track Matte” and change to your “Shape Layer”.
Now, you can go back to your main composition, add the effect “CC Light Sweep” to the “Shape Layer”-composition you just edited to add a bit of a light effect to your shape.
You can adjust “Width” and “Sweep Intensity” based on what you like.
Go through the same process with the other two layers, then right-click in the “Timeline”-window, go to “New” and select “Null object”.
This “Null object” is going to be used to rotate the images in the carousel. The next step is to select everything (except the background) and then click any of the checkboxes underneath “3D-layer” so that you can adjust all of them in 3 directions.
Now, change the view in the “Composition” window to “Top” or “Custom View 1” if you want to visually see what’s going to happen in the next step.
Then, select the “Null object”, click “P” to open the “Position” property, and then click and drag the Z-value to the right to adjust the point, in 3D space, that your images are going to rotate around.
Now, if you click keyboard shortcut “R” to open the “Rotation” properties of the Null object, and then click-and-drag the Y-rotation, it rotates the way we want, but the images are not moving because they are not linked to the “Null object” yet.
So, link the first “Shape Layer”-composition to the “Null object” by clicking the dropdown next to that layer, under “Parent & Link”, and select the “Null object”.
Now you want to rotate the “Null object” with 120 degrees in the “Y Rotation” property (which is one-third of a full rotation).
Then, you want to link the next “Shape Layer”-composition the same way, and then move both of them another 120 degrees,
by setting the Y rotation to 120+120.
(Or, if you are decent at math, you can just type in 240 right away)
And finally, you link the third layer.
Now when they are all linked, you can set a keyframe on the Y-rotation by clicking the stopwatch next to it, move the playhead, and then adjust the value, and it will now rotate around the Null object.
And that’s how you do it!
🎞 Watch the tutorial here!
And if you want a text to rotate around an object, check this blog post.
Don’t forget to subscribe to my YouTube channel for hundreds of short tutorials just like this one.
Thanks for reading!
Click the image below to check out my digital products 👇
