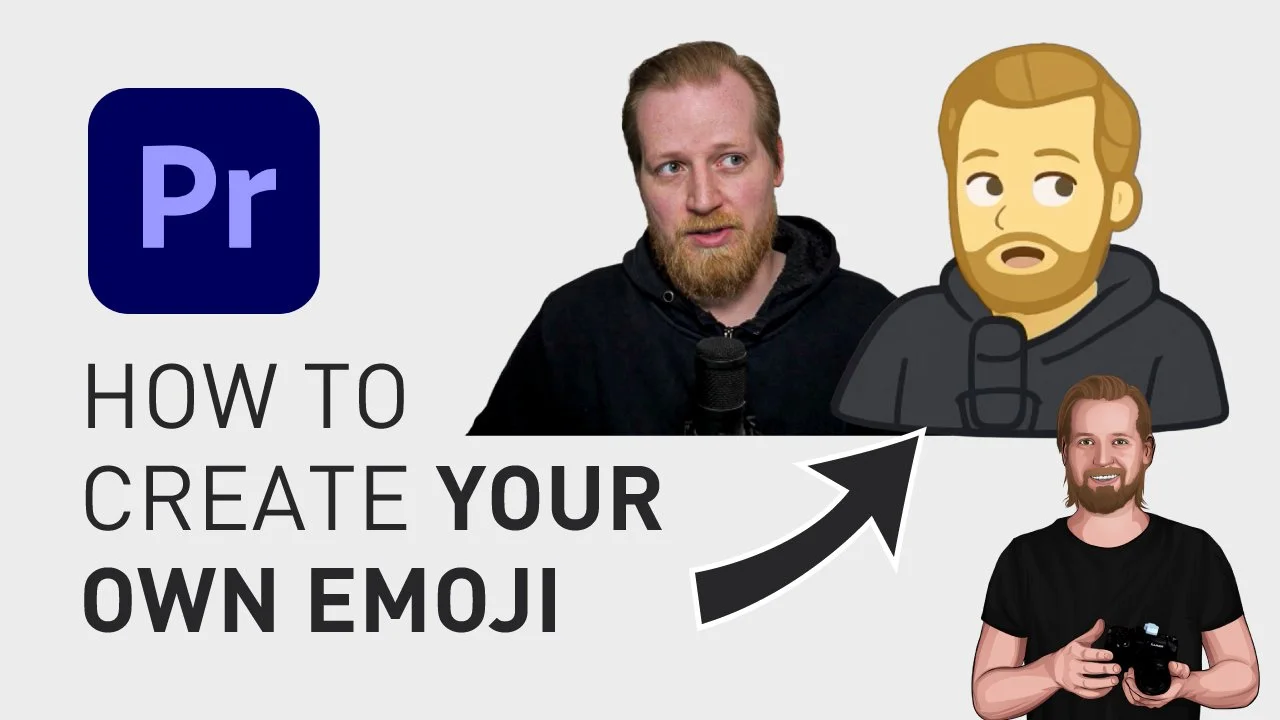
How to make your own emojis in Premiere Pro
Did you know that you can turn your face into an emoji, or generate an emoji with a text prompt, all inside Adobe Premiere Pro. Let me show you how.
How to make your own emojis in Premiere Pro
First of all, head over to Gumroad, search for “Emoji Library” from James Milton, select the “Premium” version, and download that.
Then, just drag-and-drop the downloaded file into the ZXP Installer to install it.
Once installed, head over to Premiere Pro, go up to the menu, click “Window”, “Extensions”, and “Emoji Library”.
After you log in, you can pick an emoji from the library or search for one. Then you click on the emoji you want (so it shows up in the button below), and then you click that button to add it to a new folder called “Emoji” that you can find in the “Project” panel.
If you want to generate your own emoji, click the button “Make your own AI Emoji” at the top of the panel and then click “AI Emoji Maker” at the bottom.
Here, under “Text Prompt”, you simply type in how you want your emoji to look like, or click “Upload Image” and browse for an image or photo, and then click “Make your emoji”.
And if you want to learn more about using emojis in Premiere Pro, here’s a playlist with all my emoji tutorials.
🎞 Watch the video here!
And if you wanna learn how to copy an image from the internet and paste it directly into Premiere Pro without saving it first, check out this video.
Thanks for reading!
Click the image below to check out my digital products 👇


